
 I've had this equipment since late last spring and just never got it out of the box to get started playing with it. I guess I wasn't in my "mad scientist" mode, plus something else just seemed to keep getting in the way.
Finally tried it out yesterday and was amazed at how easy it was to operate. I know I haven't gotten the ins and outs and finer points under control yet, but, wow! What fun. A whole new dimension added to lampworking/jewelry making.
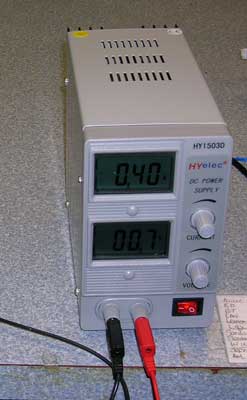
The item to the left is the "rectifier". It's probably the most important (and expensive) part of the set up. This where the current comes from and is adjusted to start the flow of electrons through the solution.
 On the right is the electroforming bath. This is where the "anodes" and "cathodes" are set up and, more simply, the item to be electroformed is hung in between two copper pieces.
The rectifier and the electroforming bath are connected, the rectifier turned on and VOILA! The copper atoms flow from the copper sheets and are deposited on the item which has been coated in places with a special paint that attracts them.
I am posting pictures of the first two things I attempted. They are both pretty bad, probably because I was impatient applying the paint and also because I may not have left them in long enough to get a heavy enough coating.
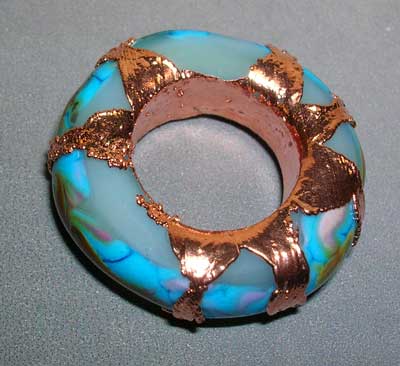 The first things I tried were large holed beads. I knew this shape would be somewhat easy since the copper will actually peel off the surface, so it must be applied to certain shapes.
The turquoise bead to the left is pretty bad! I like the bead well enough, but... First I etched the inside so the paint would stick better. Then I started painting. Did the inside and got carried away because I felt it should come up the sides of the bead. When I wound up with little triangles coming up the sides, I decided they should be connected. The little points where I connected them were too thin and some of them didn't hold through the process. I did nothing to this one to finish it off - it looks more like a shiny bottle cap than anything else at this point!
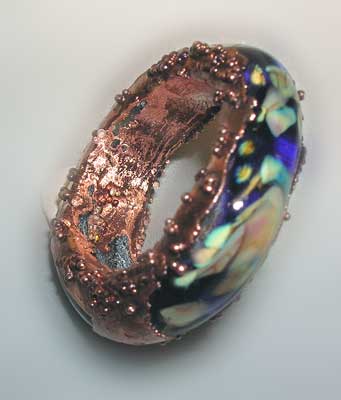 The second try was a bit more successful. A stuck tiny microbeads to the paint and then painted over them. I didn't feel the need to connect the bands and I like the result a lot better.
This one has been patinated with Liver of Sulfur and then I hit it with the buffer/grinder. It will hang on a chain, but it is pretty rough inside and tends to catch on things. Something to think about there....
The process certainly shows promise and I have seen lots of examples of wonderful things done this way.
I have a vessel in there right now that I'll show tomorrow. I made it some time ago, but never added handles. I thought I would wire it, but now I'm trying something else. I added a twine loop and painted it with the special paint.
Can't wait to see how it turns out!
No comments:
Post a Comment